INSTRUCTION GUIDE
|
Installation Guide Suzuki SV650 SV1000 Mototeck Undertail
|
|
Please read these instructions from beginning to end before you start the installation. Should you have any questions, please contact Rack in Motion immediately. If you do not feel comfortable doing this job yourself, it is suggested that you have an experienced Motorcycle Technician perform the installation. 1. Place the bike on a stand, preferably a swing arm stand. 2. Remove the front seat. 3. Remove the solo seat section or rear seat. 4. Remove the plastic lock rivets under the tail section. Using a 10mm wrench, remove the bolts under the tail section as well. 5. Disconnect the tail light, signal light and license plate wires and carefully remove the tail section.
|

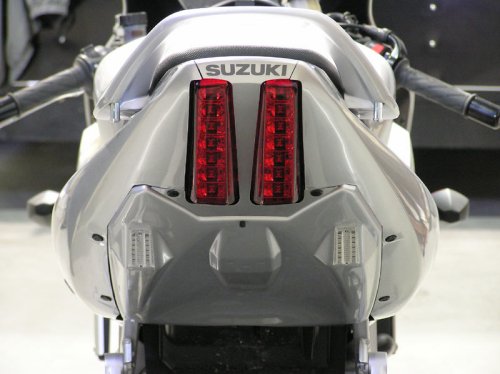
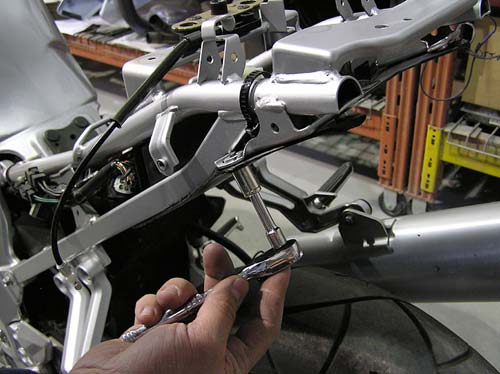
Disconnect the keylock cable from the tail section.
This picture shows the tail section
removed

|
Here, the installer is unbolting the 4,
10mm bolts that hold the rear mud guard in place.
|
|
7. FENDER TRIMMING: IMPORTANT NOTE: The following procedure involves some cutting of plastic. Use Safety Glasses for all cutting and/or grinding procedures! The stock fender is used to retain the trunk area. You must also keep the holder clips for the support bar. The stock fender must be trimmed enough to install the Undertail section. For cutting, I recommend an Exacto Knife, or something similar. Basically, you have to cut the fender at least as high as the finished edge and also leave room for the signals. It's not critical to cut perfectly since the new Undertail covers all of the cut edges. 8. Look
carefully at the pictures below and use them as a guide as to where you
need to cut. This procedure should take about 5 minutes.
|
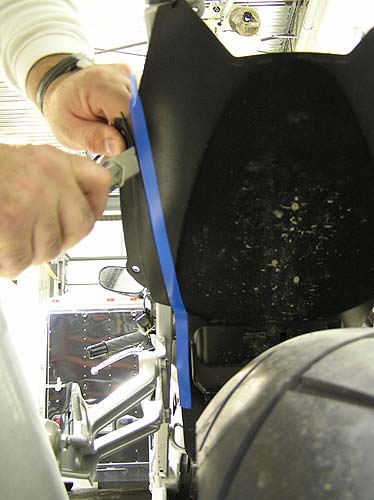
Bending the plastic sides help the knife to cut the plastic,
be careful with the blade.
For ease of cutting, use some tape to layout the cut before you begin. The installer is beginning to cut here.

Continue the cut, using the tape edges as a guide.

There are the pieces that have been cut off.
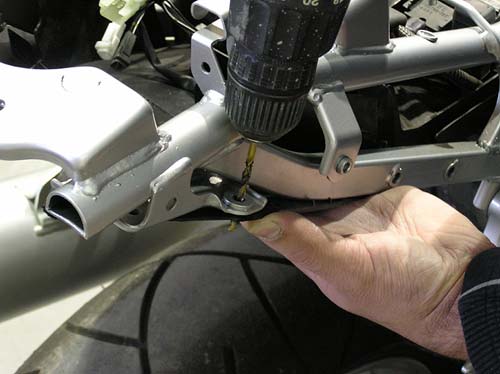
Here, the installer is holding the stock undertray up against
the frame and using the existing stock fender hole as a guide, is drilling a
3/16" hole in the undertray. Do the same on both sides (see below).
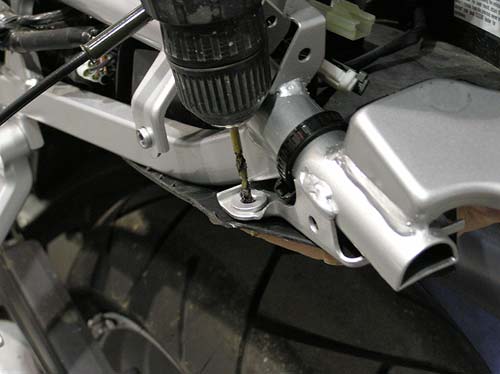

Above and below pictures, Install the bolts that you removed in the mud guard removal so as to hold the stock undertray in place. Tighten with a 10mm wrench.

Do your best to
hide the wires in the empty rear and side of the tail section
using tape or zip ties.

Copyright 2008-09 Rack in Motion